Click for full view.
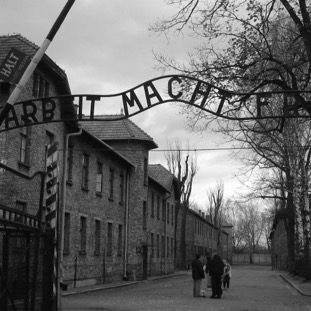
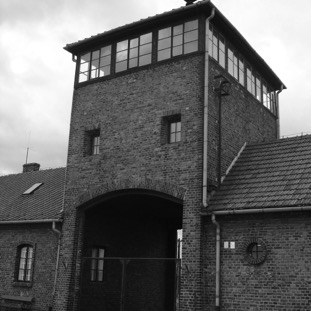
KL Auschwitz I: Main Gate.
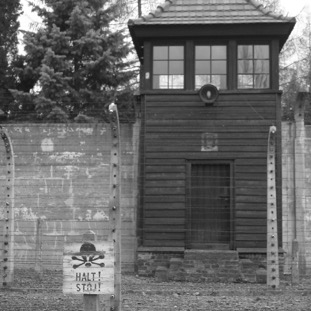
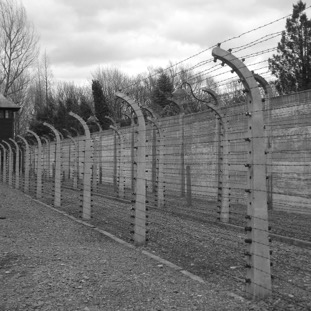
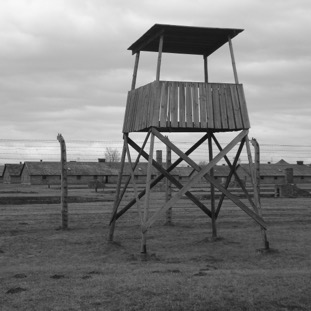
KL Auschwitz I: Guard tower and electric fence.

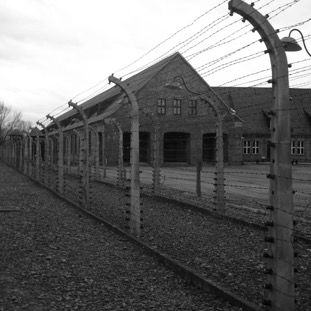
KL Auschwitz I: Electric fence.
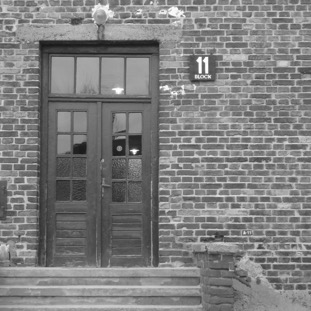
KL Auschwitz I: Block 11.
KL Auschwitz I: The infamous Blocks 10 and 11.
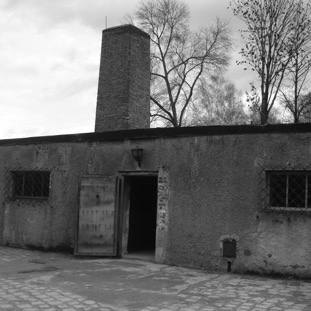
KL Auschwitz I: Crematoria and Gas Chamber 1.
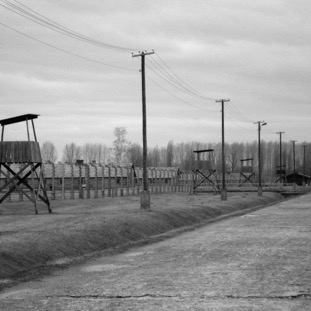
KL Auschwitz I: Outer Perimeter.

KL Auschwitz I: Rudolf Hoess's Gallows.
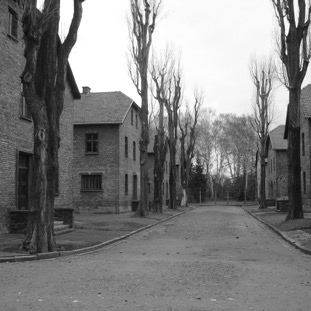
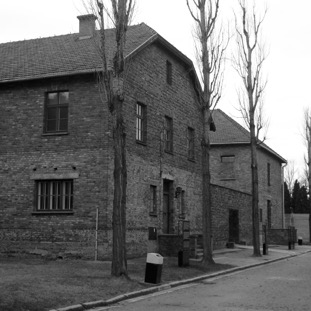
KL Auschwitz I: Street view with camp blocks.
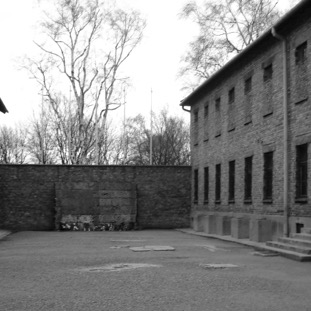
KL Auschwitz I: The Death Wall.
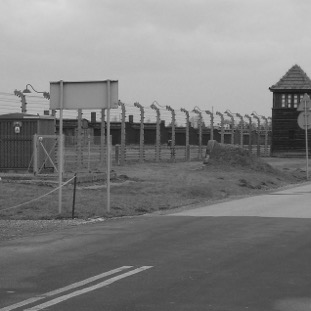
KL Auschwitz I: View as entering camp across electric fence.
KL Auschwitz II-Birkenau, Gate of Death.
KL Auschwitz II-Birkenau: Those chosen for immediate destruction would join the road on the left which led to the crematoria.
KL Auschwitz II-Birkenau: The selection area. It was at this point that Nazi SS doctors would make an assessment about the status of new arrivals.
KL Auschwitz II-Birkenau: View to the sorting area.
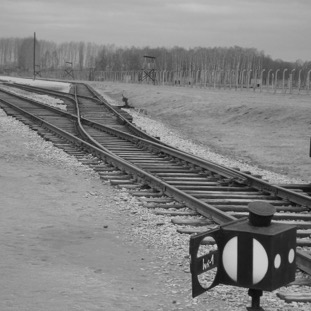
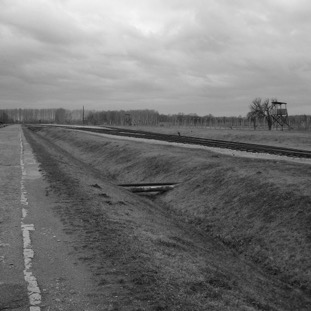
KL Auschwitz II-Birkenau: The railway spur near the Judenrampe.
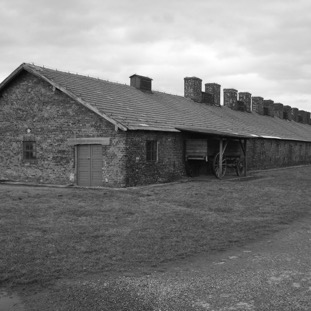
KL Auschwitz II-Birkenau: Kitchens in Area BIb.
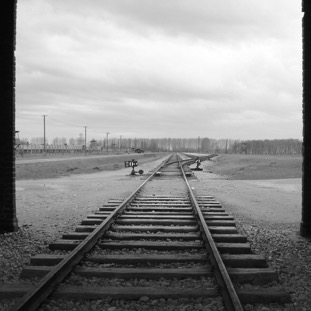
KL Auschwitz II-Birkenau: A look down the end of the railway line from near the Crematoria.
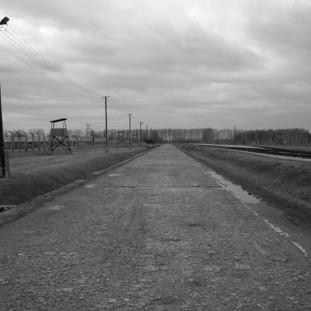
KL Auschwitz II-Birkenau: The main road to the crematoria and gas chambers.
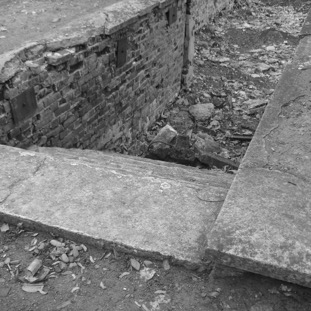
KL Auschwitz II-Birkenau: The steps into the Gas Chamber's changing room.
KL Auschwitz II-Birkenau: This is the changing room, where arrivals would be given a bar of soap and a towel before going into the gas chamber for a "shower".
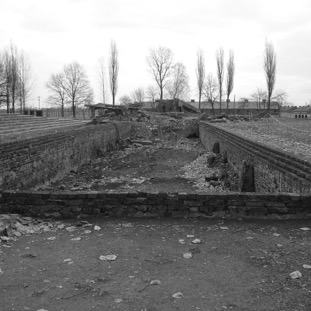
KL Auschwitz II-Birkenau: This is the collapsed gas chamber, which was situated underground.
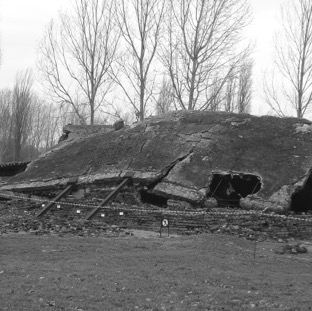
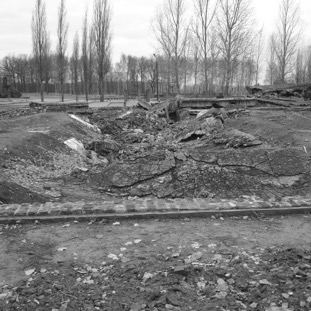
KL Auschwitz II-Birkenau: Here is the bombed out shell of the crematoria. The Germans destroyed it with explosives before leaving.
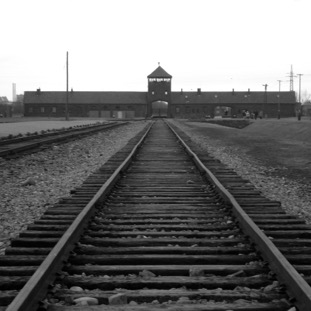
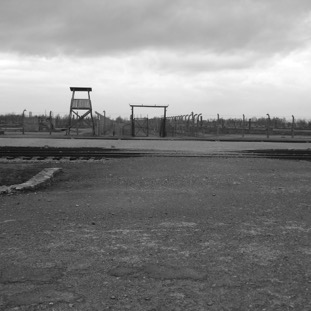
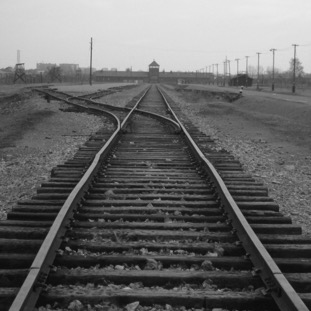
KL Auschwitz II-Birkenau: A look down the railway line towards the Gate of Death.
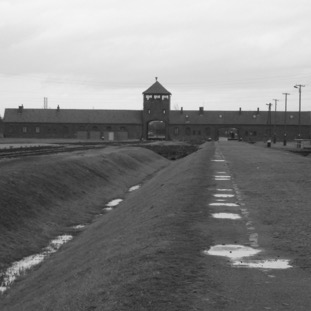
KL Auschwitz II-Birkenau: A look back at the main entrance.
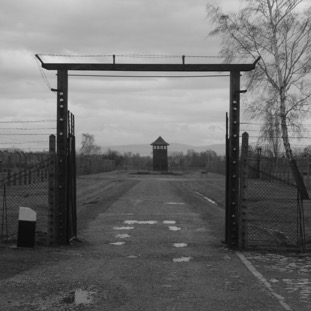
KL Auschwitz II-Birkenau: A gateway into sections BIa (left) and Bib (right).
KL Auschwitz II-Birkenau: Area BIa. This was mainly used for Jewish and non-Jewish women.
KL Auschwitz II-Birkenau: The scale hits you on arrival.
KL Auschwitz II-Birkenau: I went in winter, with relatively few present, and a deep cold.
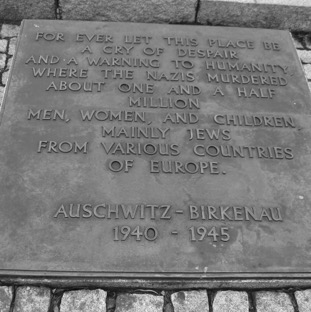
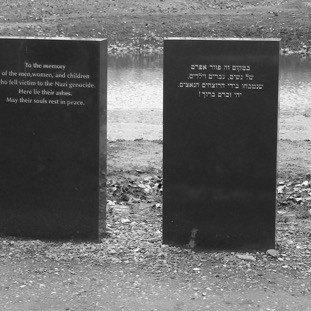
KL Auschwitz II-Birkenau: Memorial to those who died at Auschwitz. It is written in the languages of all those who died, the English version being slightly separated.
KL Auschwitz II-Birkenau: A memorial next to a pit of ashes from the crematoria.
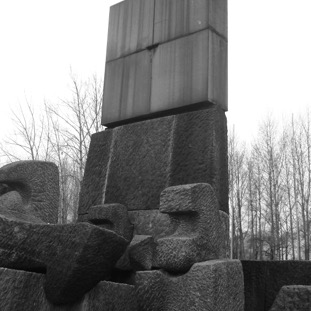
KL Auschwitz II-Birkenau: Memorial to those who died at Auschwitz.